XGEN PTEX TOOL

|
The Xgen Ptex Tool allows you to assign any Ptex maps that’s assigned to your current description to Xgen primitives, guides or the growth mesh.
|
|
|
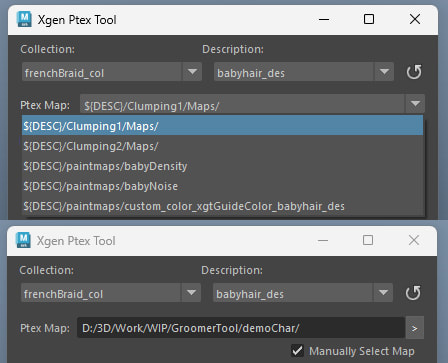
To view a Ptex map, pick a map from the “Ptex Map” drop down menu.
|
|
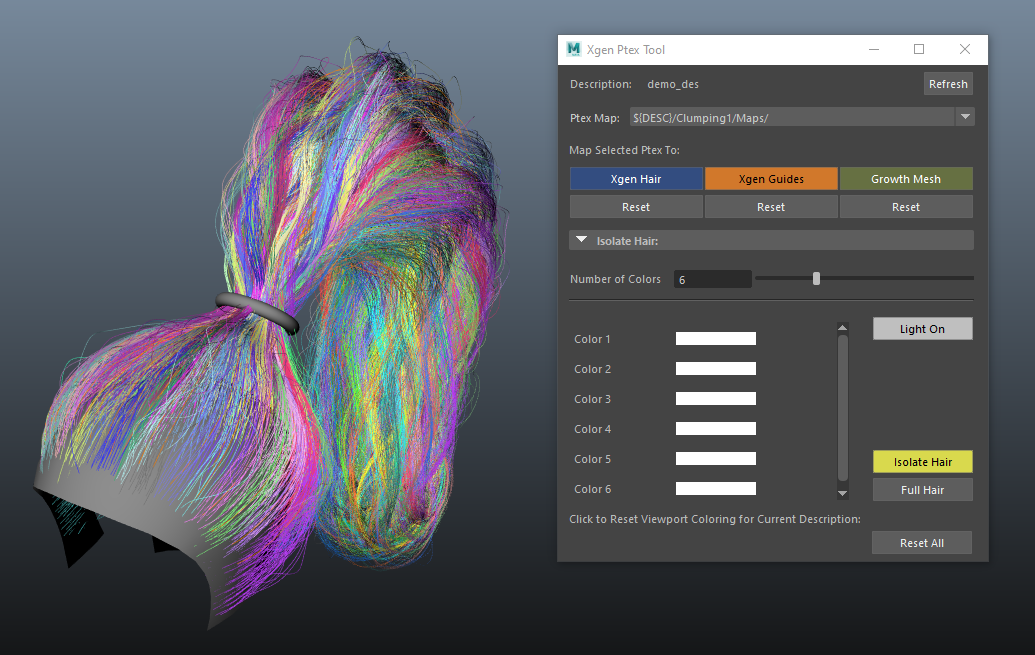
Then click one of the three buttons (XGen Hair, XGen Guides, Growth Mesh). You can click on all three!

|
XGen Hair: Ptex will be assigned to the current XGen description primitives. This creates an expression in the Primitive Color. Click on the “Reset Button” to go back to the default XGen Primitive color.
|
|
|
XGen Guides: Ptex will be assigned to the current XGen description Guides. This creates an expression in the Guide Color expression. Click on the “Reset Button” to go back to the default XGen Guide color.
|

|
|
Growth Mesh: This will assign the chosen Ptex map to the current XGen description’s growth mesh. It will also hide the hair to allow ‘color picking’ for the “isolator” function. Click on the “Reset Button” to assign a default Lambert material on the growth mesh.
|
|
You can also click on the “Reset All” button at the very bottom to reset everything.

Isolator
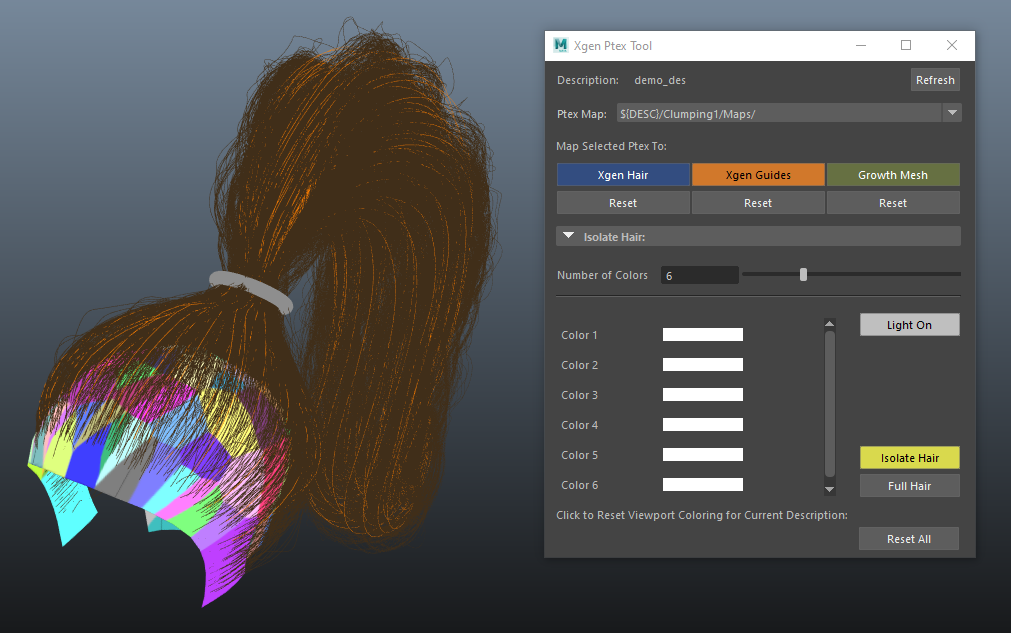
Allows users to ‘isolate’ groups of hair based on the coloring of the Ptex map assigned.
Allows users to ‘isolate’ groups of hair based on the coloring of the Ptex map assigned.

|
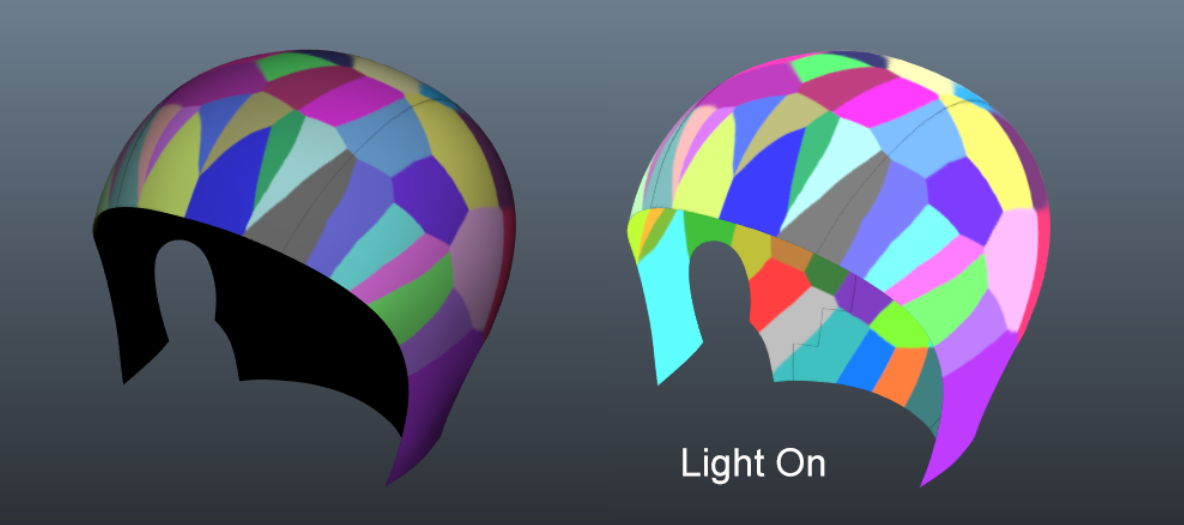
The default number of colors you can pick from is set to 6. *NOTE sliding this will ‘reset’ the selected colors. It is advised to crank this up if you think you need more colors first IMPORTANT NOTE: Maya viewport is set to use ‘default lighting’ by default, which does not work when we are sourcing color for XGen's Ptex maps. In order for this to work correctly, please ensure that ‘Light On’ is clicked. Click on the ‘Light On’ button will ensure that the viewport is displaying in the correct color space that works with the isolator. When you are done viewing or isolating hairs, simply press 5 or 6 on your keyboard to go back to shaded mode. |
|
Next, simply click on any of the color swatches, and select color pick.
You can add more colors to the isolator
You can also assign the same Ptex map to the primitives, to see the coloring.
You can also toggle between the full hair and isolated hair.